Planners seem to be a big thing this year. Big ones, small ones, red ones, blue ones. OK, I'm starting to sound like Dr Seuss. But they do seem to be everywhere on blogs, YouTube and Facebook. Not to mention every kind of accessory you can imagine - and yes, I have been caught up in it all. I have not only bought several journals recently but I have been making them too. More on that in a future post.
However, among the accessories I am seeing is 'journal jewellery' - planner charms that hang from the elastic of travel journals. When I saw the cute little charms I knew that my paper beads were ideal for the job - and so this little tutorial was born.
Materials:
Wide hole beads (the ones here were made by me and, sadly, no longer available for sale)
Silk cord (available in my
Etsy store)
Lobster clasp (or other clip for attaching the charm)
4mm jump ring
Thread (roughly 10-13cm (4-5 inches)
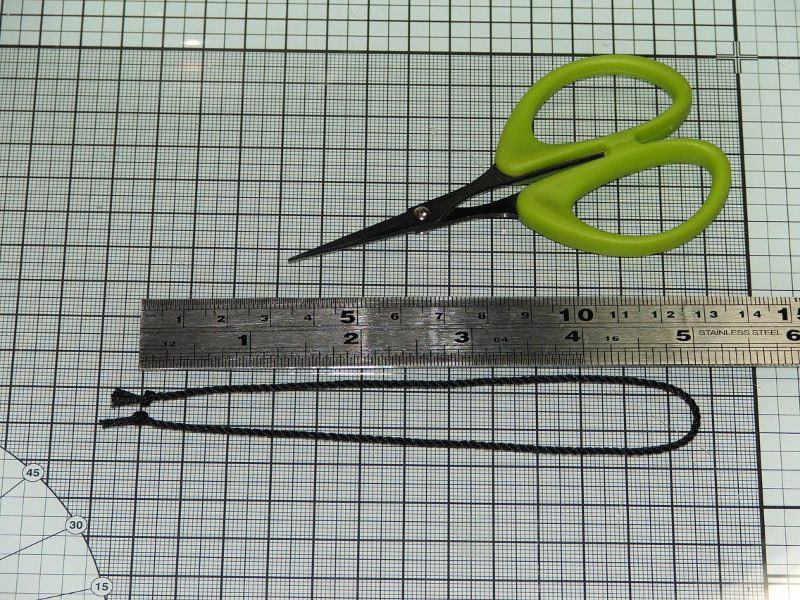
Tools:
Scissors
Pliers
Method:
1. Cut a length of silk cord roughly 20-25cm (8 -10 inches) long. The longer the thread is the easier it will be to tie the knots in it. Fold the length of cord in half.
2. Place a piece of thread between the fold of the cord so it can be folded in half too. You are going to use it like a needle to thread the bead onto the cord.
3. Push both ends of the thread through the bead hole until they come out of the top. Then pull the bead onto the silk cord.
4. Tie a knot in the top of the cord where the fold is leaving a small loop to attach a jump ring onto.
5. Pull the bead up to the knot and tie a second knot underneath the bead.
6. Take the two loose ends of cord and tie one knot in each tail. Make the tails as long or as short as you like. Trim any excess cord from the ends.
7. Use pliers to attach a lobster claw using a jump ring.
8. That's it! Clip the charm into your journal. You can also use them on bags or as knitting and crochet stitch markers too.
Please excuse the not-so-brilliant photos this time. It has been dull, grey and blowing a gale for the last two days and I could not get outside to take decent sample photos. Roll on Spring!