Showing posts with label bookbinding. Show all posts

Sunday, 13 October 2019

How to make a glued notepad

One of my new Etsy products is a digital download of notepad pages that can double as journal cards for memory books, journals and scrapbooks. 


However I recently discovered how to make your own glued notepads while looking for something else entirely. Isn't it always the way? My first notepad was made using scraps of leftover paper. But it is so simple that I wanted to make something a bit more decorative and realised my art made the prefect subject matter for some cute notepads to scatter through the house. 

Tools and materials:

10 printouts from the PDF included with these instructions. I use plain copy paper in 70-100gsm (roughly 20 - 24lb in the US).

Tacky PVA glue (It has to be tacky glue that is nice and thick. I use Aleene's Tacky Glue.)

Paper trimmer or scissors

Spring clamps

Method:
  1. Print out ten copies of the notepad papers. That makes 40 sheets of paper for the pad. I used the printer's standard settings but you can use a higher quality print if you prefer.
  1. Cut each of the sheets out using the grey outlines as a guide.
  1. Bundle all of the sheets together and make sure all the sides line up and are straight, especially the top edges. Clip the bundle of papers together near the top of the pad using the spring clamps. You want the top of the bundle of papers to be nice and tight and firmly squeezed together.
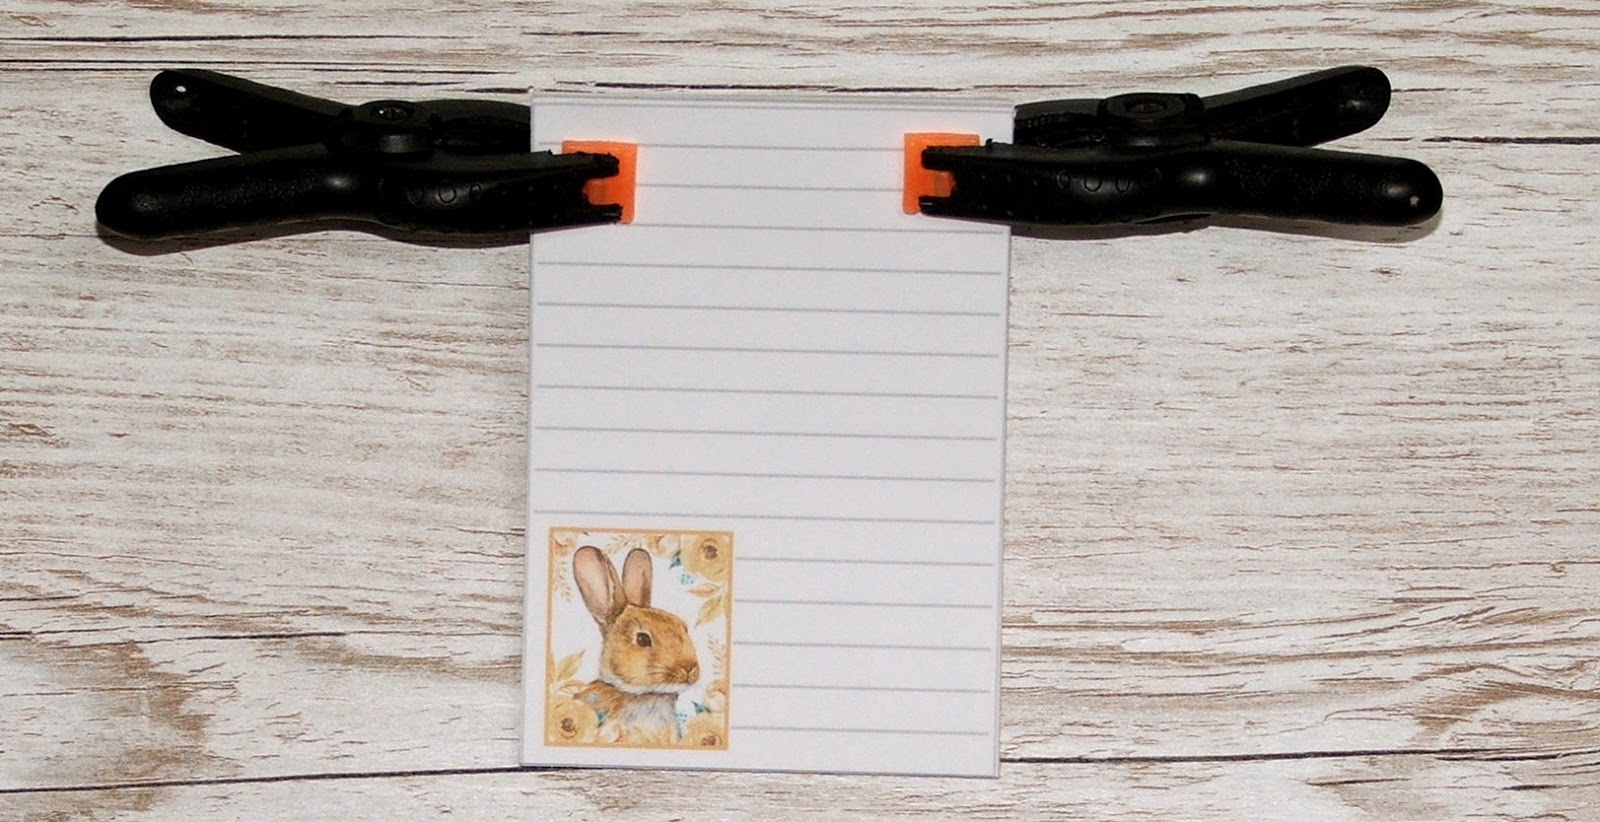
  1. Take the top off of the tacky glue and squeeze a generous amount along the top of the paper bundle. You want to smooth it out either using your finger or a little piece of card but don't mash the glue into the top of the paper or you will get glue oozing in places you don't want it. Let that layer dry. Then squeeze a second layer of glue on top of the first once it has dried. Again, make it a generous layer, smooth it out and let it dry.

That's it! You have a great little notepad using some cute images.

Alternative ways to use the sheets

Instead of using the glue method, you can hold the sheets together using a fancy bulldog clip or punch holes along the top of the pad and fasten the sheets together with string or hinged book binding rings.  


You can also use the sheets for journaling or scrapbooking too.


Wednesday, 17 August 2016

More books


This book binding lark can be addictive. There is no end to the possibilities. However I will need to pace myself now otherwise my home will be filled with notebooks with no room for anything else.


This first one is roughly 4x6 inches (10x15cm) with white pages, a hand painted elastic closure and covered in K&Co papers. Orange waxed cord was used to bind it.


My next attempt was a bit bigger - 6x8 inches (15x20cm). I had a bit of a mishap when cutting the papers (they were too big to start with, then too small - ahem!) so the edges of them were made to look deliberately distressed. I used yellow unwaxed cord for this binding along with K&Co papers to cover it. Still a lot to learn, it would seem.


My last book - or perhaps it should be called a bookling at 3x2.5 inches (7.5x6cm) - got some jazzy treatment. Basic Grey papers, turquoise waxed cord for binding, a paper bead, handmade silk cord closure with a handmade silk tassel and a We R Memory Keepers snap. Sadly the gem in the snap got a bit crushed during insertion but the overall effect is for a distressed book so it fits well. All the internal papers and cover boards were offcuts from the larger projects.


Of course, I haven't used any of them yet. The big one with the moths on the front is meant to be an ideas book for my business. Trouble is, I can't bring myself to write in it - which is very silly as I could always make myself another one. One day soon I will get the pen out and make my mark in it.

Wednesday, 20 July 2016

Coptic bookbinding attempt

A bit more book binding this week - this time using proper bookbinding stitches. I have always admired the exposed spine books that are all the rage but was too intimidated to give it a go. Last week I bought a little notebook by Kate Bowles as I was needing something to cheer myself up. When it arrived I was so enamoured of the beautiful stitching that it encouraged me to try myself. Kate has nothing to worry about as my stitching isn't a patch on hers but I really did enjoy making it and I now have a little 8x3 inch notebook to use for my work notes. The paper is from an old pad of K & Company paper. I added some hand painted elastic in green and cream and made a thread wrapped button specially for it in matching colours.


Saturday, 18 June 2016

Vintage notebook

I had this week off from work - a rarity for me. Apart from doing some of an Italian course that I signed up for I have done very little - and it has rained all week. So there has been a lot of internet surfing, particularly on Pinterest. There I came across Christine Plummer's vintage books. I have seen these little books before and it was one of those 'I must try that' things that got pushed further down my 'to do' list. This week I gave it a shot - with the help of some YouTube videos and some bookbinding books.


The cover is made from brown paper packaging from an Amazon order that I scrunched up and then ironed. It was reinforced with medium weight iron on fabric interfacing that had been in lying unused in my sewing drawer for two years. The rest of the decoration is ordinary coloured paper from scraps in my scrap horde, some lace ribbon, vintage buttons and some waxed linen cord with seed bead dangles.


The signatures were stitched using waxed linen thread a chain stitch.


The inside pages were made using a variety of papers, from more of that Amazon packaging to ordinary white copy paper. I am not sure what I will do with it yet but I am sure I can find a use for it. Perhaps I could use it as a vocabulary book for some Italian?